Crafting a Custom Nightstand: A Guide to Building Your Dream Bedside Companion
Related Articles: Crafting a Custom Nightstand: A Guide to Building Your Dream Bedside Companion
Introduction
In this auspicious occasion, we are delighted to delve into the intriguing topic related to Crafting a Custom Nightstand: A Guide to Building Your Dream Bedside Companion. Let’s weave interesting information and offer fresh perspectives to the readers.
Table of Content
Crafting a Custom Nightstand: A Guide to Building Your Dream Bedside Companion
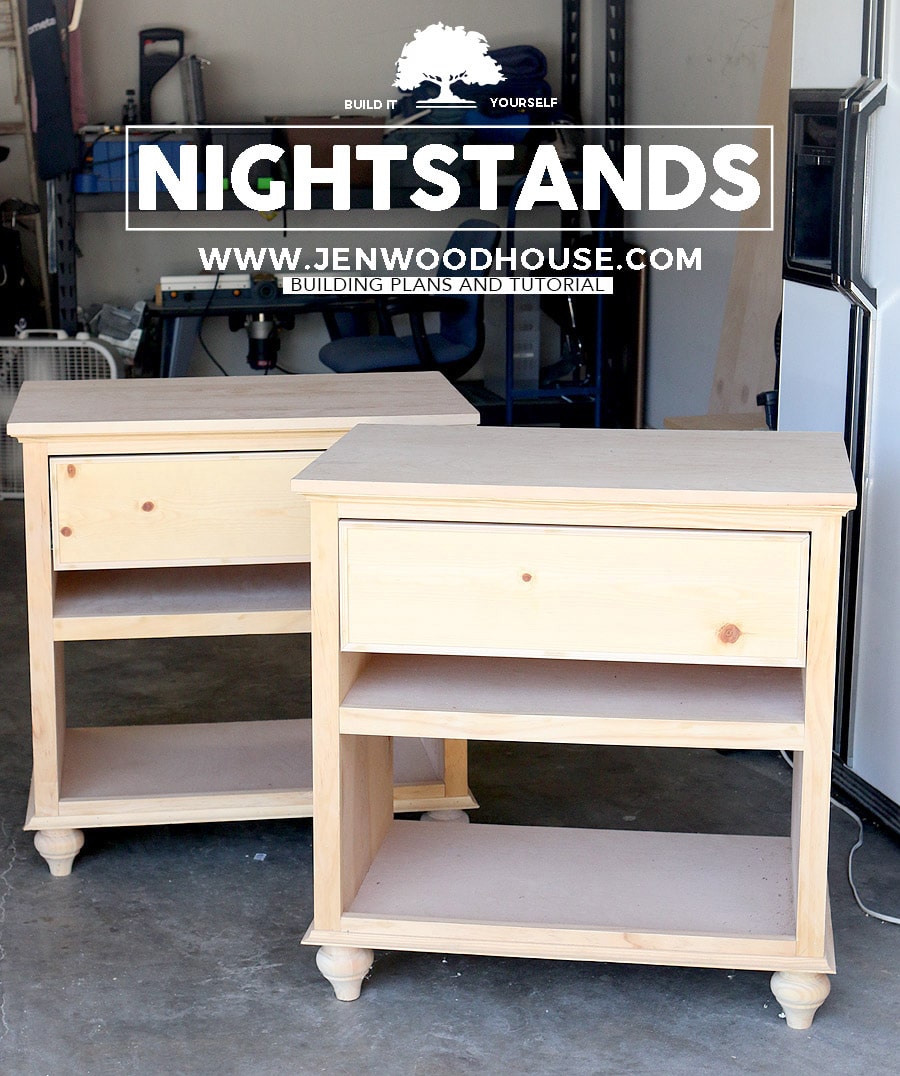
A nightstand is more than just a place to rest a book or a glass of water; it’s a functional and stylistic centerpiece in any bedroom. It holds personal treasures, provides convenient storage, and adds a touch of personality to the space. While readily available at furniture stores, a custom-built nightstand offers a unique opportunity to express individual style and fulfill specific needs. This comprehensive guide will walk you through the process of building your own nightstand, from conceptualization to completion.
The Appeal of a DIY Nightstand
Building your own nightstand presents numerous advantages over purchasing a pre-made one:
- Customization: You have complete control over the design, size, materials, and finishes, ensuring the nightstand perfectly complements your bedroom decor and personal preferences.
- Cost Savings: Constructing a nightstand yourself often proves more cost-effective than buying a comparable one from a store.
- Unique Style: A DIY nightstand becomes a one-of-a-kind piece that reflects your creativity and individuality, adding a personal touch to your bedroom.
- Enhanced Satisfaction: The process of building your own nightstand is rewarding, offering a sense of accomplishment and pride in creating something unique and useful.
Conceptualizing Your Nightstand Design
Before embarking on the construction process, it’s crucial to clearly define your vision for the nightstand. Consider these factors:
- Style: What aesthetic do you want to achieve? Modern, rustic, minimalist, traditional, or eclectic? This will influence the choice of materials, finishes, and design elements.
- Size: Measure the available space beside your bed and determine the ideal dimensions for the nightstand. Consider the height, width, and depth to ensure it fits comfortably and provides sufficient storage.
- Functionality: What features are essential? Drawers, shelves, a built-in lamp, or a charging station? Decide on the specific storage solutions and functionalities you need.
- Materials: Explore various options for the nightstand’s structure, such as wood, metal, or a combination of both. Consider durability, aesthetics, and budget when selecting materials.
- Finishes: Choose the appropriate paint, stain, or varnish to achieve the desired aesthetic. Explore different colors, textures, and finishes to match your bedroom decor.
Essential Tools and Materials
Once you have a clear design in mind, gather the necessary tools and materials:
-
Woodworking Tools:
- Saw (circular, jigsaw, or table saw)
- Drill and drill bits
- Screwdriver (power drill or manual screwdriver)
- Sander (belt sander, orbital sander, or sanding block)
- Clamps
- Measuring tape
- Level
- Pencil
- Hammer
- Chisel
- Wood glue
- Wood filler
-
Materials:
- Wood (plywood, MDF, solid wood boards)
- Drawer slides
- Hinges
- Knobs or handles
- Fasteners (screws, nails)
- Wood stain or paint
- Varnish or sealant
- Safety gear (eye protection, dust mask, gloves)
Step-by-Step Construction Guide
Follow these steps to build your custom nightstand:
1. Cut the Wood:
- Measure and mark the wood according to your design plans.
- Use the appropriate saw to cut the wood pieces accurately.
- Ensure all edges are smooth and free of splinters.
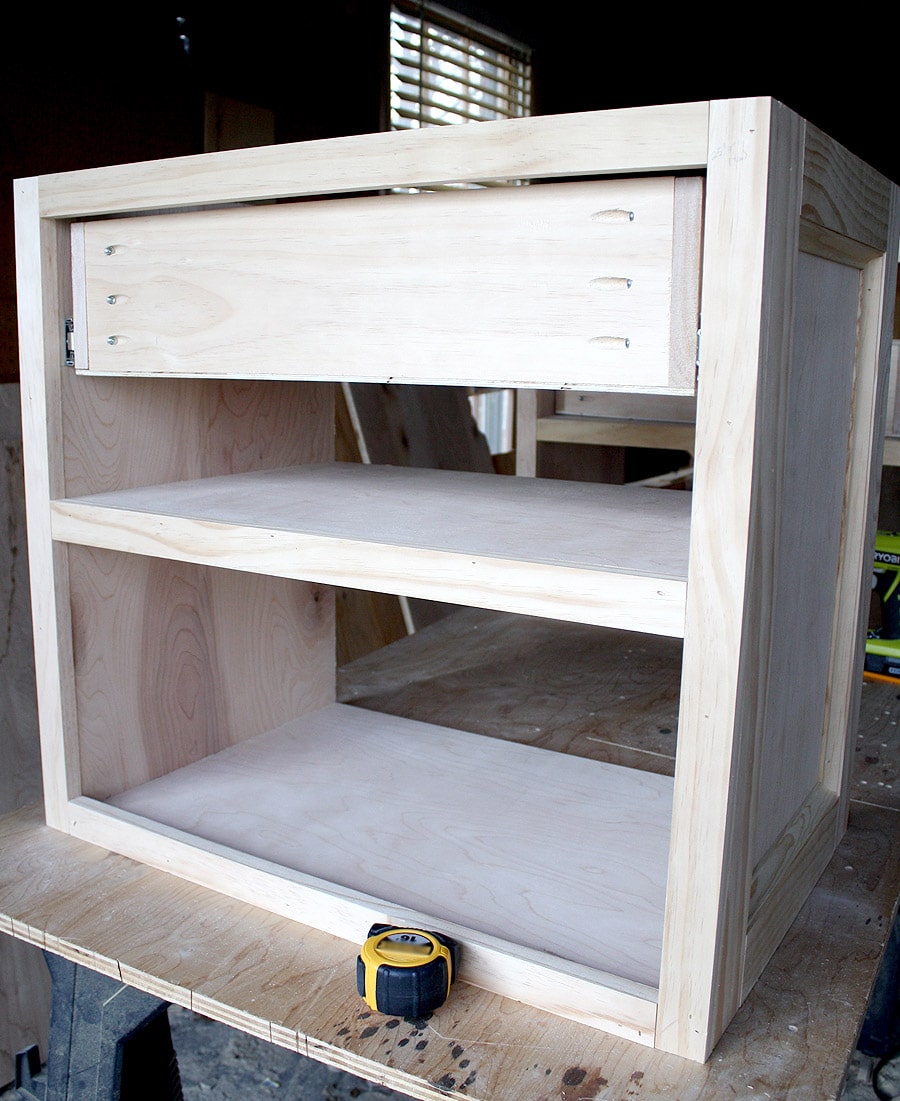
2. Assemble the Frame:
- Join the wood pieces to create the nightstand’s frame using wood glue and screws or nails.
- Ensure the frame is square and stable using a level and clamps.
- Allow the glue to dry completely before proceeding.
3. Add Storage Features:
- If your design includes drawers, attach drawer slides to the frame.
- Cut and assemble the drawer boxes, ensuring they fit smoothly on the slides.
- Install hinges for doors or shelves if applicable.
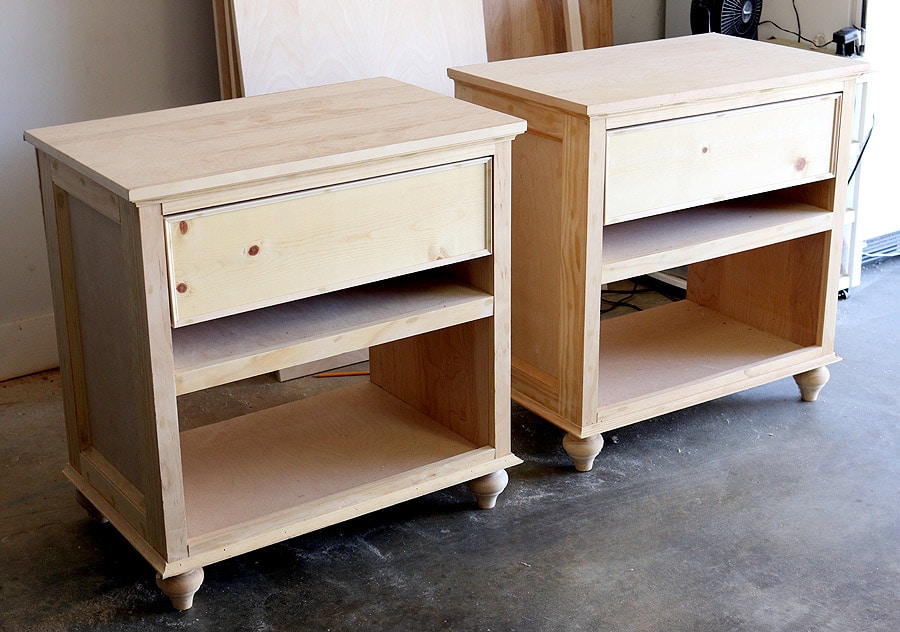
4. Finish the Surface:
- Sand the entire nightstand surface to create a smooth finish.
- Apply wood stain or paint according to your chosen aesthetic.
- Allow the stain or paint to dry completely before applying a protective layer of varnish or sealant.
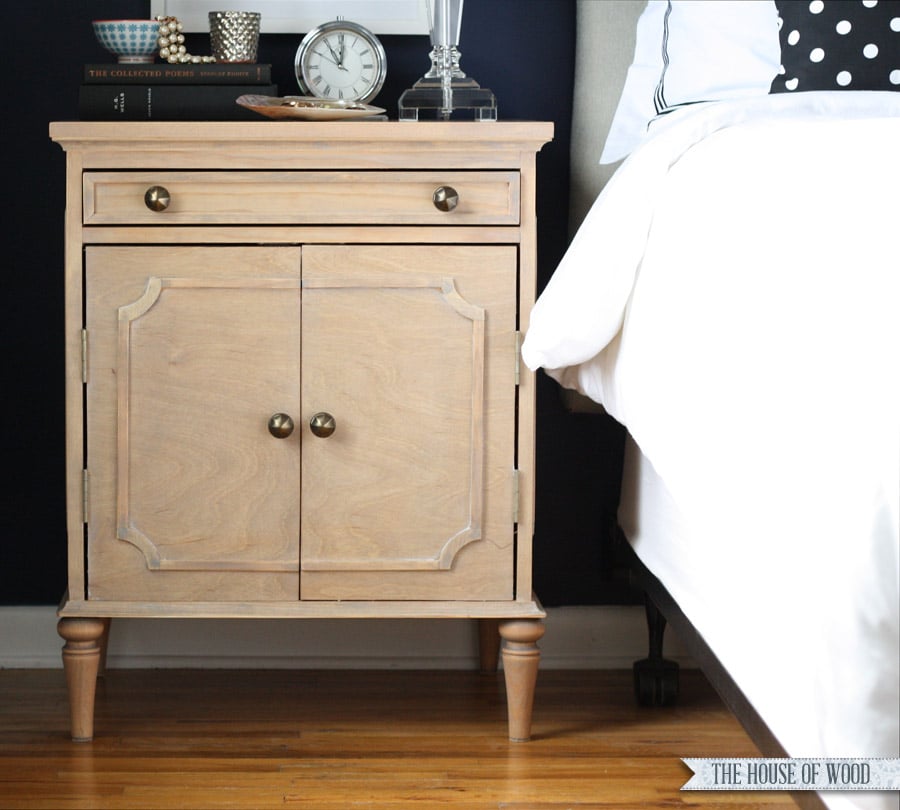
5. Install Hardware:
- Attach knobs or handles to drawers or doors.
- Install any additional hardware, such as a lamp fixture or charging station.
6. Finishing Touches:
- Clean the nightstand thoroughly to remove dust and debris.
- Apply a final coat of sealant if desired.
- Add any decorative touches, such as trim, moldings, or stencils.
FAQs
Q: What type of wood is best for building a nightstand?
A: The best wood depends on your budget, desired aesthetic, and desired durability. Popular choices include:
- Plywood: Affordable, readily available, and stable.
- MDF (Medium-Density Fiberboard): Less expensive than solid wood, smooth surface, and good for painting.
- Solid Wood Boards: Durable, beautiful, and can be stained or painted.
Q: How can I create a unique design for my nightstand?
A: Incorporate these elements to personalize your nightstand:
- Unique Shapes: Explore geometric shapes, curves, or asymmetrical designs.
- Inlay Work: Add decorative elements using contrasting wood species or materials.
- Carving: Create intricate patterns or designs on the surface.
- Hardware Choices: Select unique knobs, handles, or hinges.
- Built-in Features: Incorporate a hidden compartment, a built-in lamp, or a charging station.
Q: What are some tips for finishing a nightstand?
A:
- Sanding: Use different grit sandpaper to create a smooth finish. Start with coarser grit and gradually move to finer grit.
- Staining: Apply stain evenly with a brush or cloth, following the grain direction.
- Painting: Use a high-quality paint and apply thin, even coats.
- Sealing: Varnish or sealant protects the finish and enhances durability.
Conclusion
Building your own nightstand is a rewarding project that allows you to create a personalized and functional piece of furniture that perfectly complements your bedroom. With careful planning, the right tools, and a little patience, you can craft a custom nightstand that reflects your style and meets your specific needs. The process is not only practical but also offers a sense of accomplishment and pride in creating something unique and useful for your home.


Closure
Thus, we hope this article has provided valuable insights into Crafting a Custom Nightstand: A Guide to Building Your Dream Bedside Companion. We hope you find this article informative and beneficial. See you in our next article!