Crafting a Personalized Haven: A Guide to Building a Makeup Vanity Table
Related Articles: Crafting a Personalized Haven: A Guide to Building a Makeup Vanity Table
Introduction
In this auspicious occasion, we are delighted to delve into the intriguing topic related to Crafting a Personalized Haven: A Guide to Building a Makeup Vanity Table. Let’s weave interesting information and offer fresh perspectives to the readers.
Table of Content
Crafting a Personalized Haven: A Guide to Building a Makeup Vanity Table
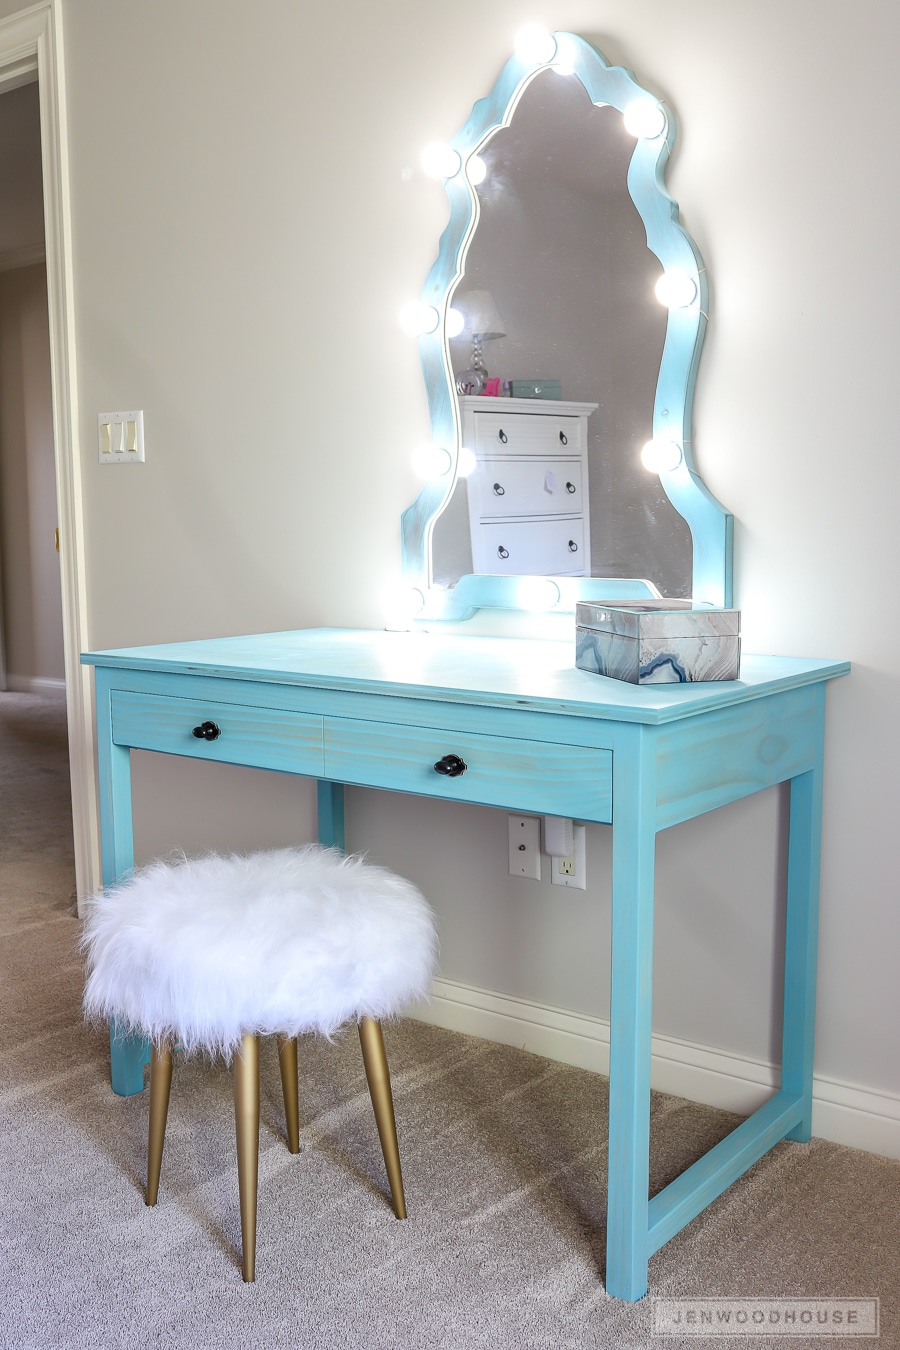
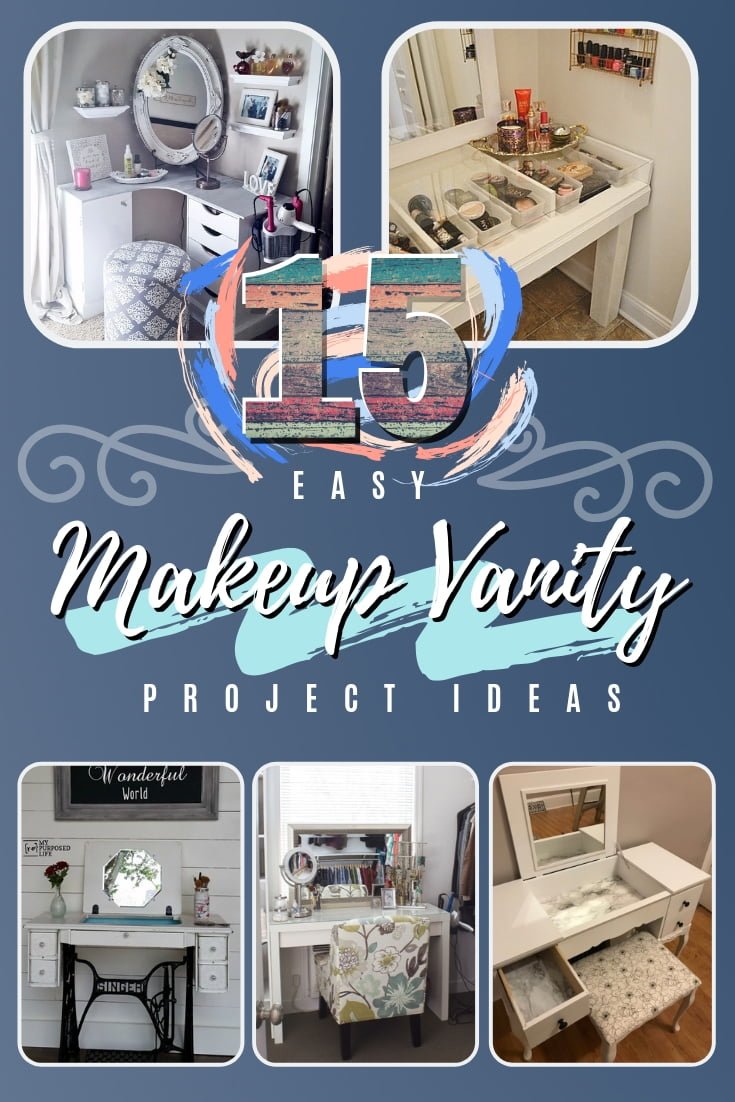
A dedicated makeup vanity table transcends mere furniture; it becomes a sanctuary for self-expression, a space where beauty rituals transform into moments of self-care. This guide offers a comprehensive blueprint for crafting a personalized vanity table, empowering you to create a space that reflects your unique style and enhances your daily routines.
Understanding the Essence of a Makeup Vanity Table
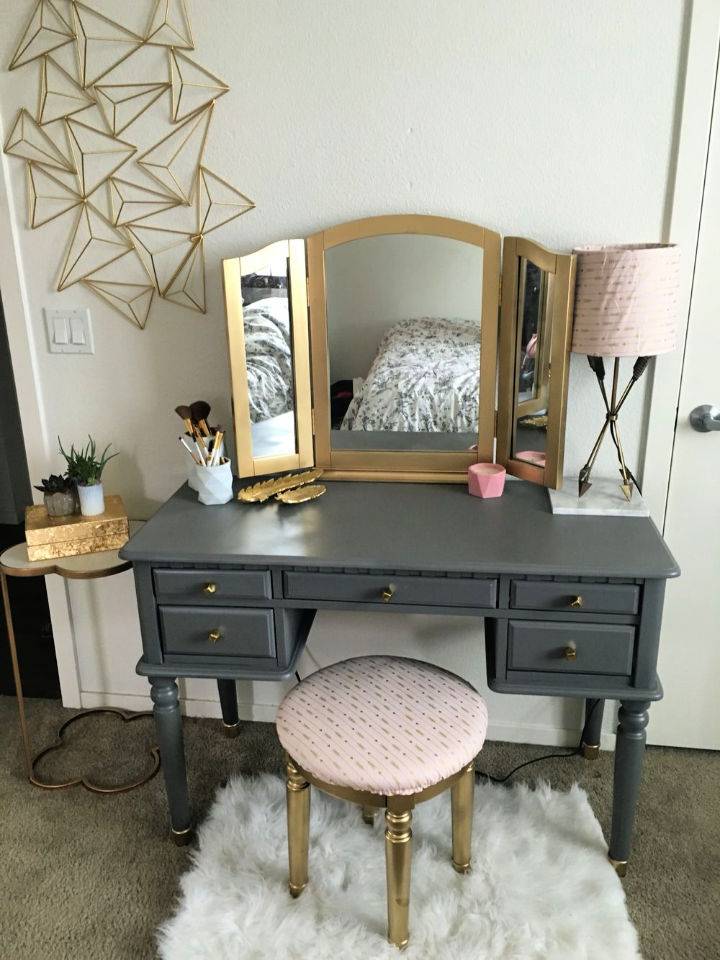
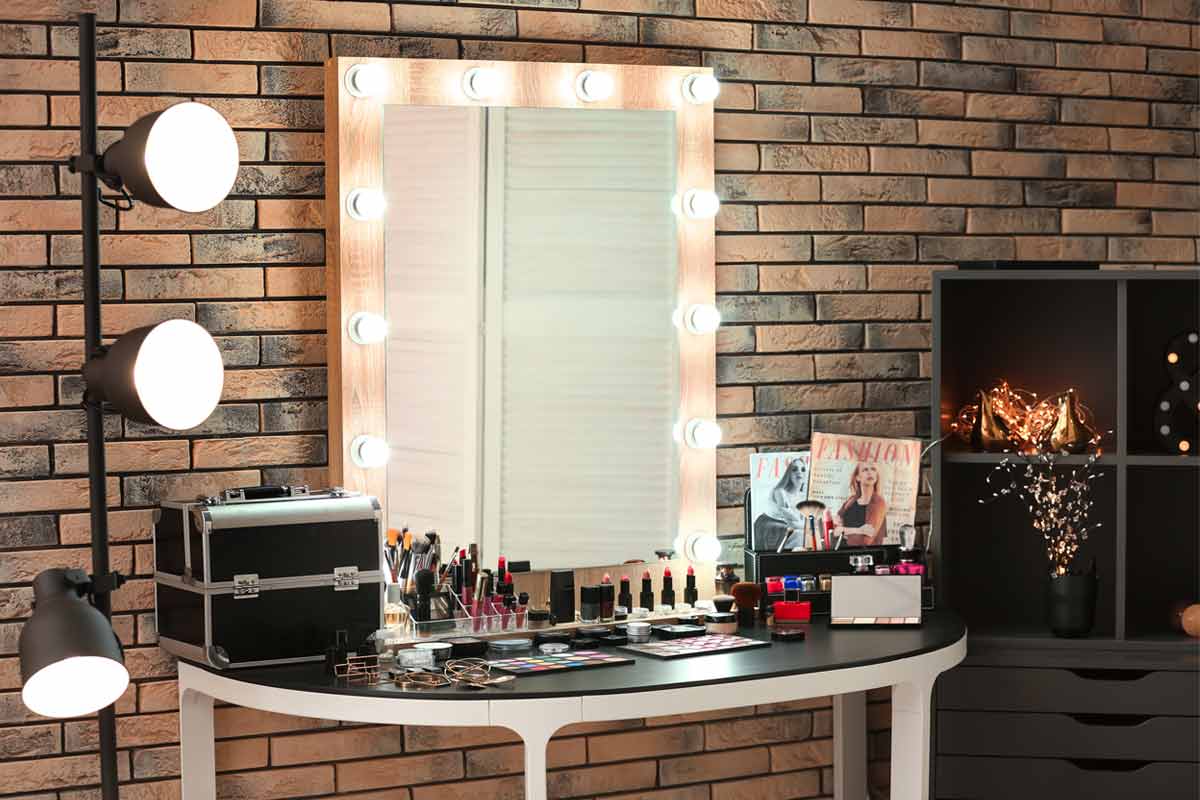
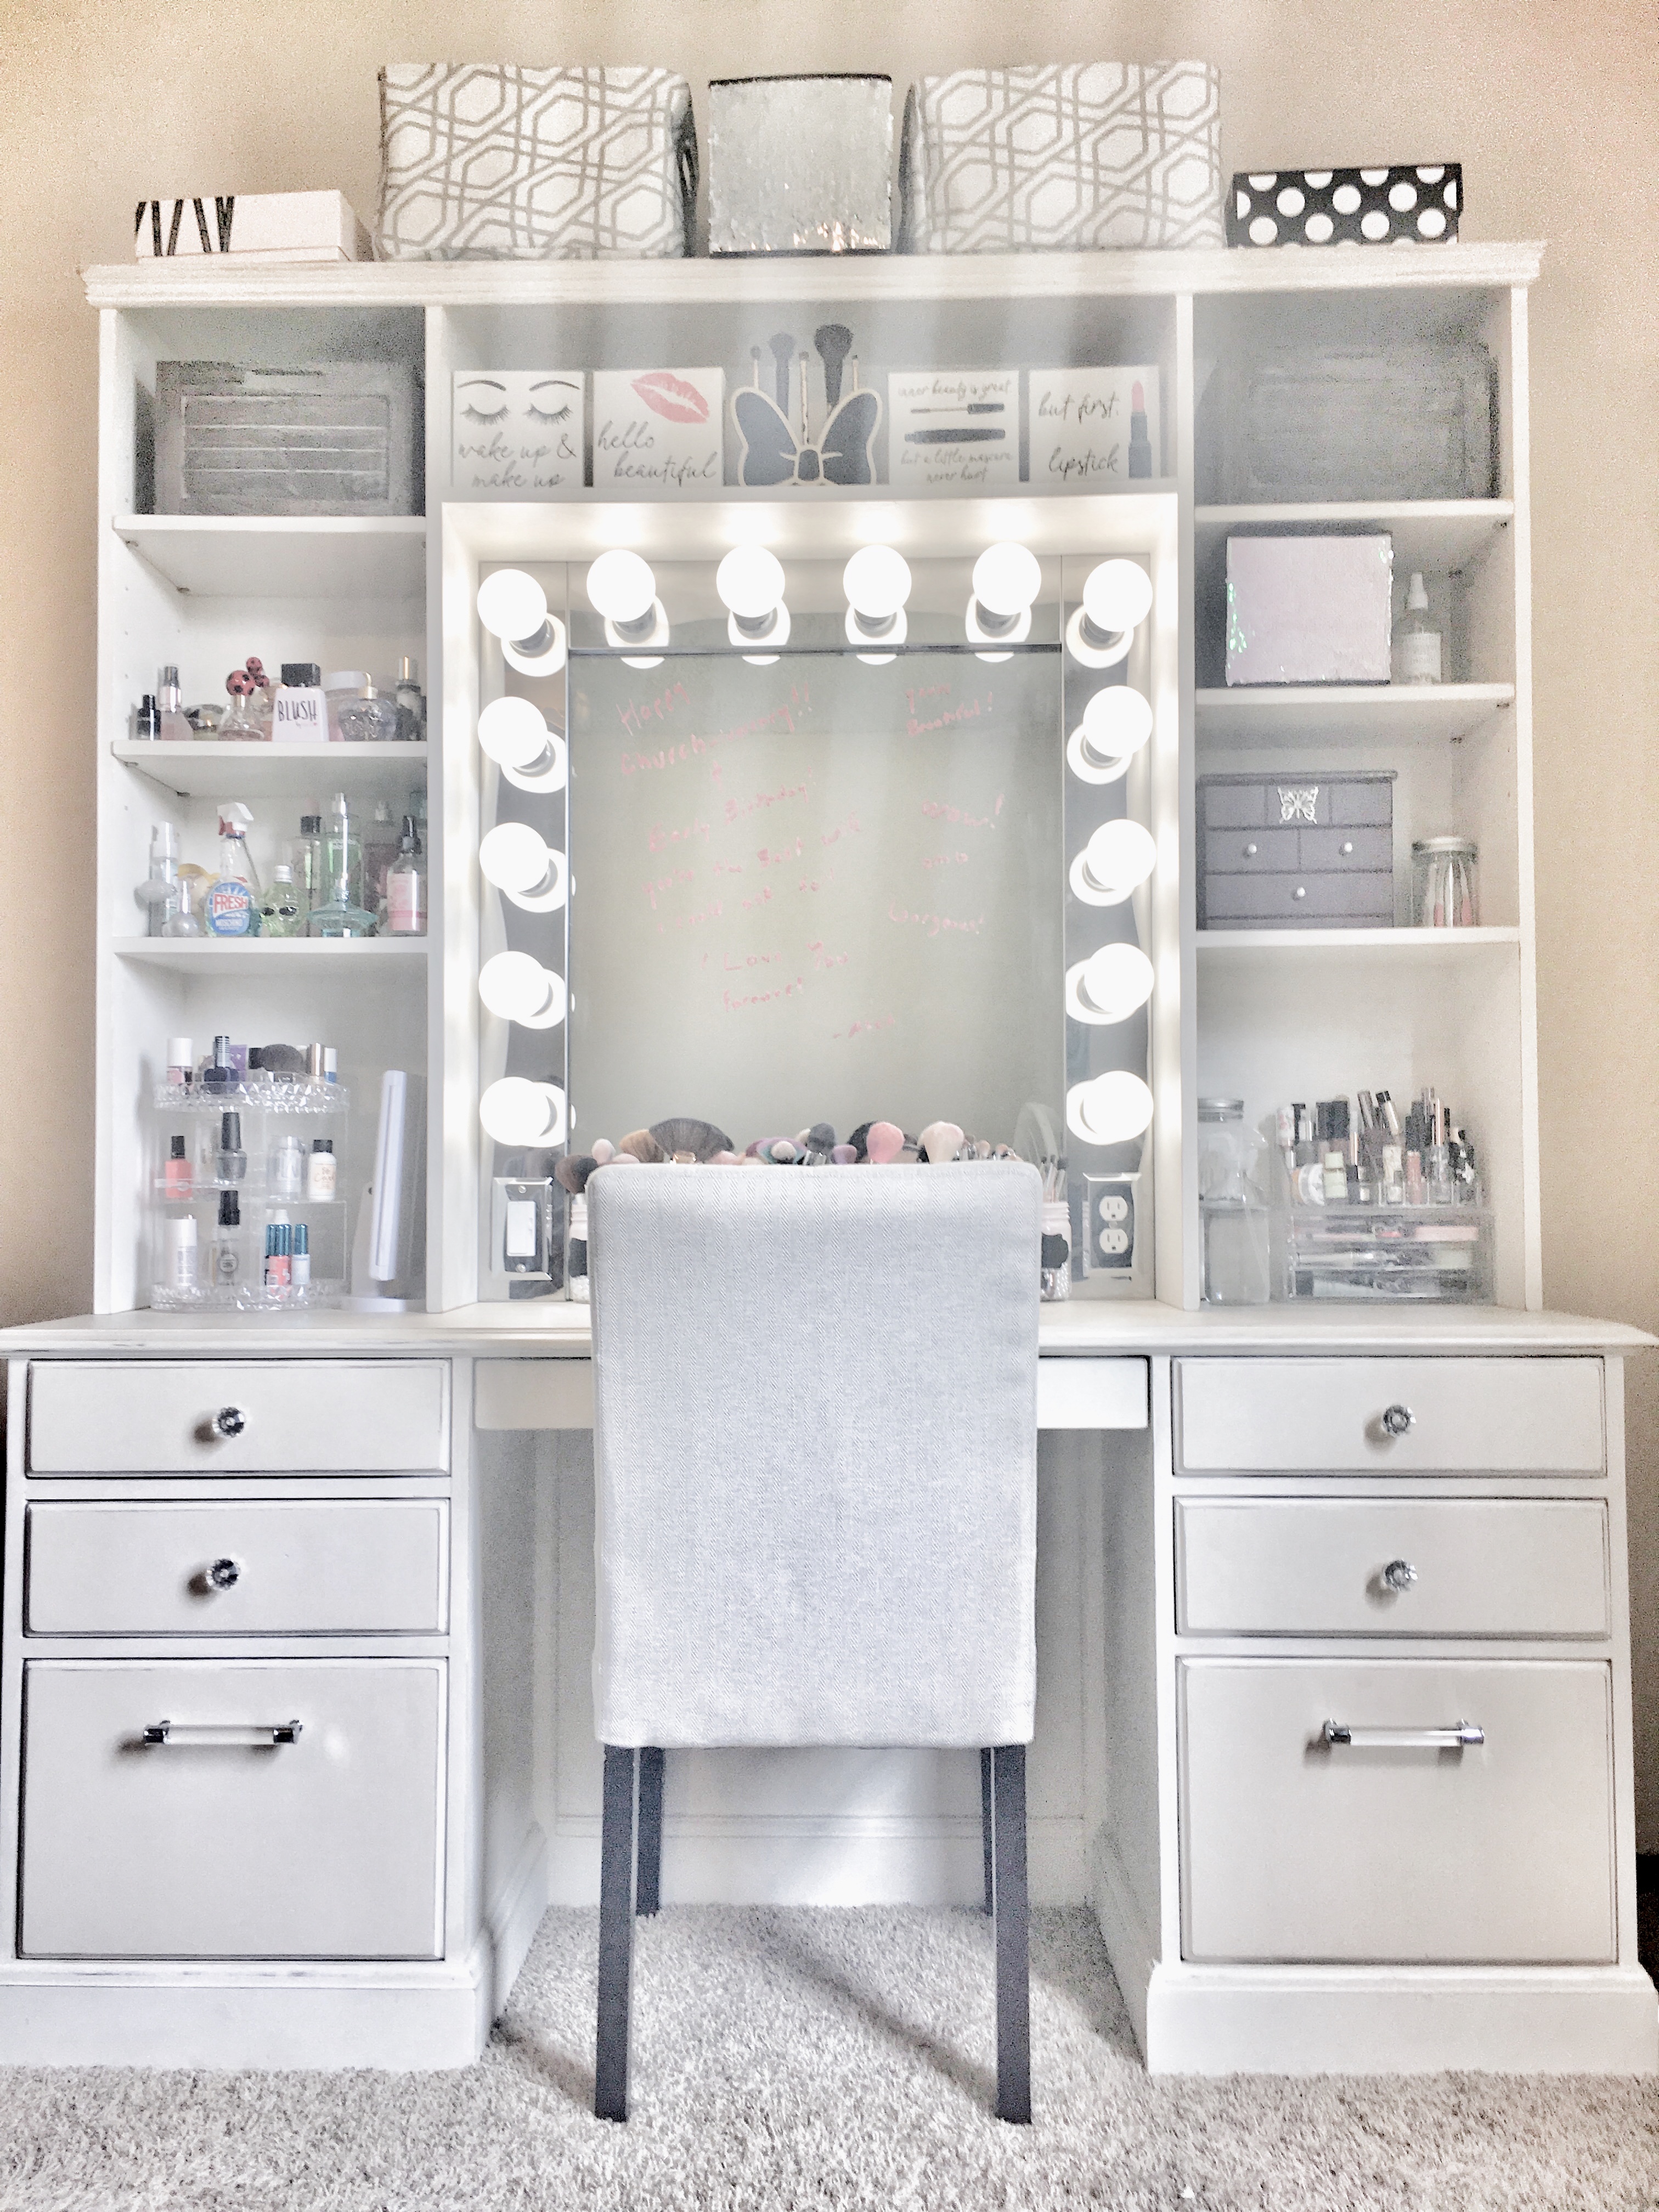
The allure of a vanity table lies in its functionality and aesthetic appeal. It provides a designated space for organizing makeup, skincare products, and tools, fostering a sense of order and efficiency. The presence of a mirror, typically adorned with elegant lighting, allows for precise application and enhances the overall experience. Beyond practicality, a well-designed vanity table can elevate the ambiance of a bedroom or dressing room, adding a touch of sophistication and personal charm.
Planning Your Vanity Table: A Journey of Design
The first step in building a vanity table is envisioning its purpose and form. Consider the following:
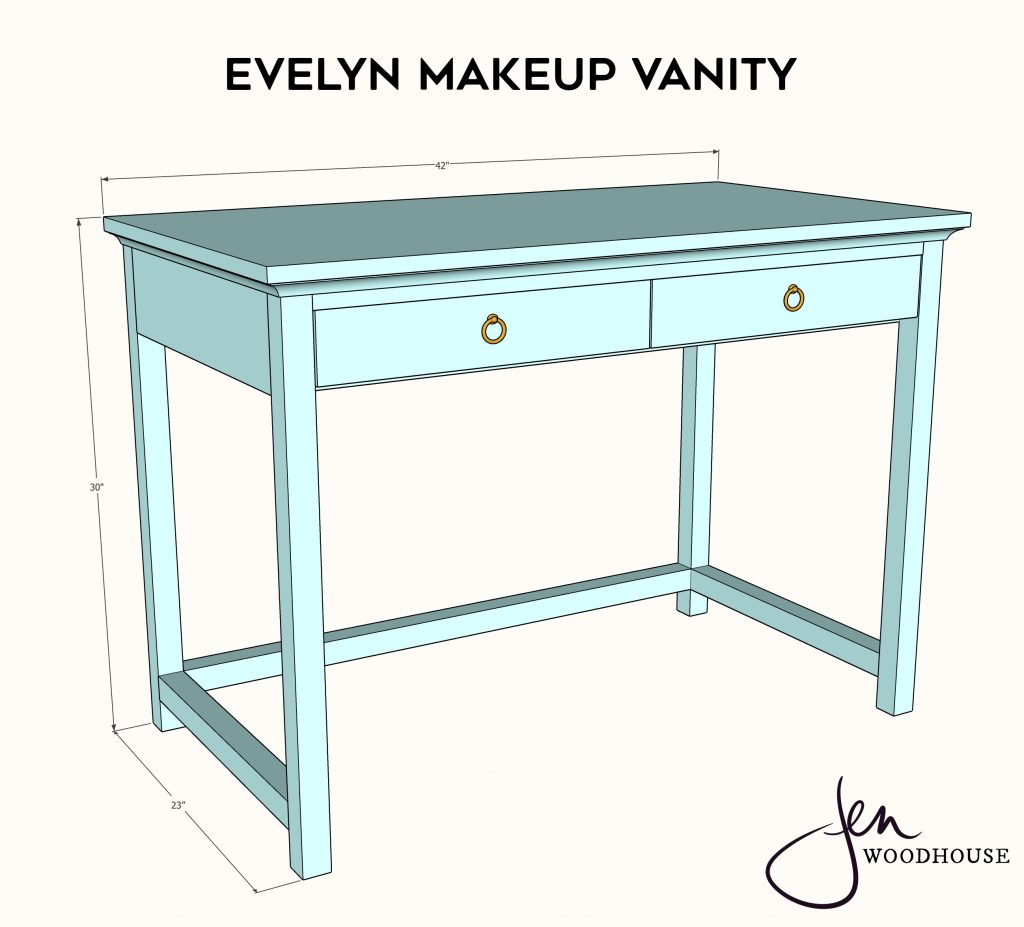
- Size and Scale: Measure the available space and determine the ideal dimensions for your vanity table. A compact design may suit a smaller room, while a larger table can accommodate an extensive collection.
- Style and Aesthetics: Choose a style that complements your existing décor, whether it’s modern, traditional, rustic, or eclectic. Consider the desired materials, finishes, and decorative elements.
- Storage Needs: Assess your makeup and skincare collection to determine the required storage space. Drawers, shelves, and compartments can effectively organize your belongings.
- Lighting: Adequate lighting is crucial for makeup application. Choose a mirror with integrated lighting or consider incorporating additional light sources, such as sconces or table lamps.
Building a Vanity Table: A Step-by-Step Guide
The construction process can be approached in various ways, depending on your skill level and available resources. Here’s a comprehensive guide outlining the essential steps:
1. Choosing Materials:
- Wood: Solid wood, such as oak, maple, or cherry, offers durability and classic appeal. Plywood or MDF (Medium-density fiberboard) provides a more budget-friendly alternative.
- Metal: Metal frames and legs can add a modern or industrial touch. Steel and iron are durable options, while aluminum offers a lighter weight.
- Glass: Glass tops add elegance and can create a spacious feel. Tempered glass is recommended for durability.
2. Constructing the Base:
- Frame: If using wood, cut the pieces to the desired dimensions and assemble them using joinery techniques like mortise and tenon, dovetail, or pocket holes. Metal frames often require welding or bolting.
- Legs: Attach the legs to the frame using screws or bolts. Consider adding decorative details, such as turned legs or metal feet.
3. Creating Storage:
- Drawers: Construct drawers using drawer slides, drawer boxes, and drawer fronts. Consider adding dividers or organizers within the drawers for enhanced organization.
- Shelves: Attach shelves to the frame using brackets or cleats. Shelves can be adjustable for flexibility.
- Compartments: Create compartments using dividers or by constructing separate boxes within the frame.
4. Attaching the Top:
- Wood: Attach the top using screws or bolts. Ensure the top is level and secure.
- Glass: Use heavy-duty clamps or specialized glass brackets to attach the glass top to the frame.
5. Adding the Mirror:
- Integrated Mirror: If using a mirror with built-in lighting, attach it to the frame using screws or brackets.
- Separate Mirror: If using a separate mirror, secure it to the wall above the vanity table. Consider adding decorative trim around the mirror for a polished look.
6. Installing Lighting:
- Integrated Lighting: Ensure the integrated lighting is properly wired and connected to a power source.
- Additional Lighting: Mount sconces or table lamps on the vanity table or nearby walls. Choose bulbs that provide warm, flattering light.
7. Finishing Touches:
- Paint or Stain: Apply paint or stain to the vanity table to achieve the desired finish. Consider using a sealant to protect the surface.
- Hardware: Install drawer pulls, knobs, and other hardware to complete the design.
- Decorative Elements: Add decorative touches, such as a decorative tray, a vase of flowers, or a framed mirror, to personalize your vanity table.
Tips for Building a Successful Vanity Table:
- Plan meticulously: Create detailed drawings and measurements to ensure accurate construction.
- Choose quality materials: Invest in durable and aesthetically pleasing materials for longevity.
- Prioritize functionality: Design the vanity table to accommodate your specific needs and preferences.
- Add personal touches: Incorporate decorative elements and finishes that reflect your style.
- Seek professional help: If unsure about certain aspects of construction, consult with a carpenter or contractor.
Frequently Asked Questions (FAQs) about Building a Vanity Table:
Q: What are the essential tools required for building a vanity table?
A: Essential tools include a saw, drill, screwdriver, measuring tape, level, sandpaper, clamps, and a router (optional for decorative details).
Q: Can I build a vanity table without prior woodworking experience?
A: Yes, many vanity table designs are relatively simple and can be built by beginners. Start with a basic design and gradually increase complexity as your skills improve.
Q: What are the best lighting options for a vanity table?
A: LED lights are energy-efficient and provide bright, cool white light ideal for makeup application. Consider using a mirror with integrated LED lights or installing sconces or table lamps with LED bulbs.
Q: How can I personalize my vanity table?
A: Personalization can be achieved through paint, stain, hardware, decorative elements, and the arrangement of accessories. Consider adding a unique fabric lining to drawers, incorporating your favorite colors, or using vintage hardware.
Conclusion:
Building a makeup vanity table is a rewarding project that allows you to create a personalized space for self-care and beauty routines. By carefully planning, choosing appropriate materials, and following the steps outlined in this guide, you can craft a functional and aesthetically pleasing vanity table that enhances your daily life. Remember, the journey of building a vanity table is as much about the process as it is about the final product. Enjoy the creative process and embrace the opportunity to design a space that reflects your unique style and enhances your self-expression.


Closure
Thus, we hope this article has provided valuable insights into Crafting a Personalized Haven: A Guide to Building a Makeup Vanity Table. We thank you for taking the time to read this article. See you in our next article!