Transforming a Dresser into a Vanity: A Guide to Creating a Personalized Beauty Haven
Related Articles: Transforming a Dresser into a Vanity: A Guide to Creating a Personalized Beauty Haven
Introduction
With great pleasure, we will explore the intriguing topic related to Transforming a Dresser into a Vanity: A Guide to Creating a Personalized Beauty Haven. Let’s weave interesting information and offer fresh perspectives to the readers.
Table of Content
Transforming a Dresser into a Vanity: A Guide to Creating a Personalized Beauty Haven
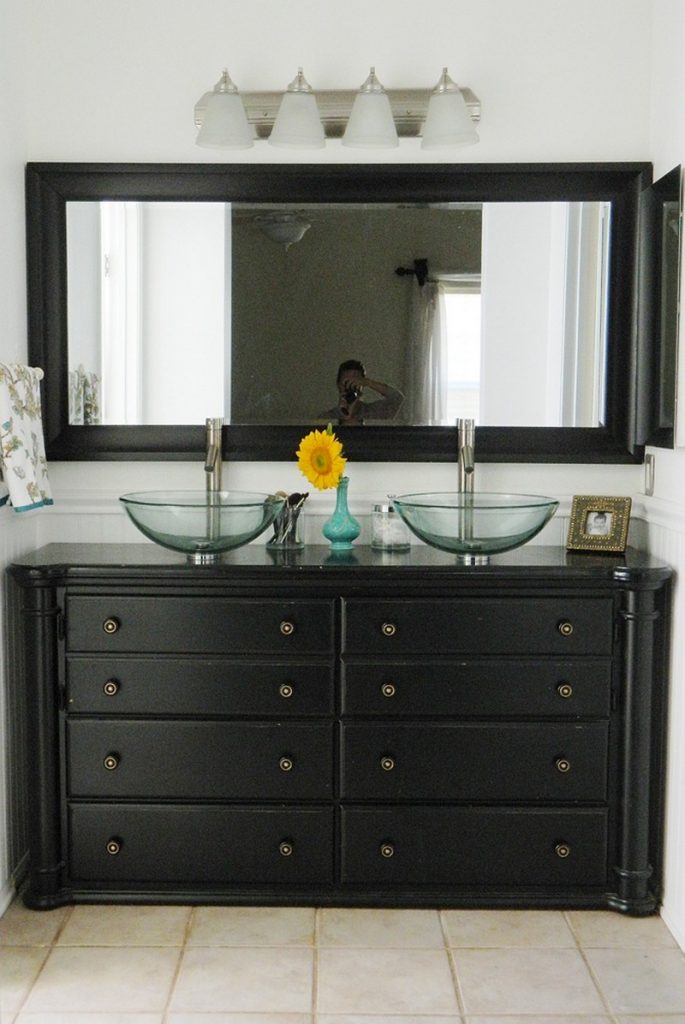
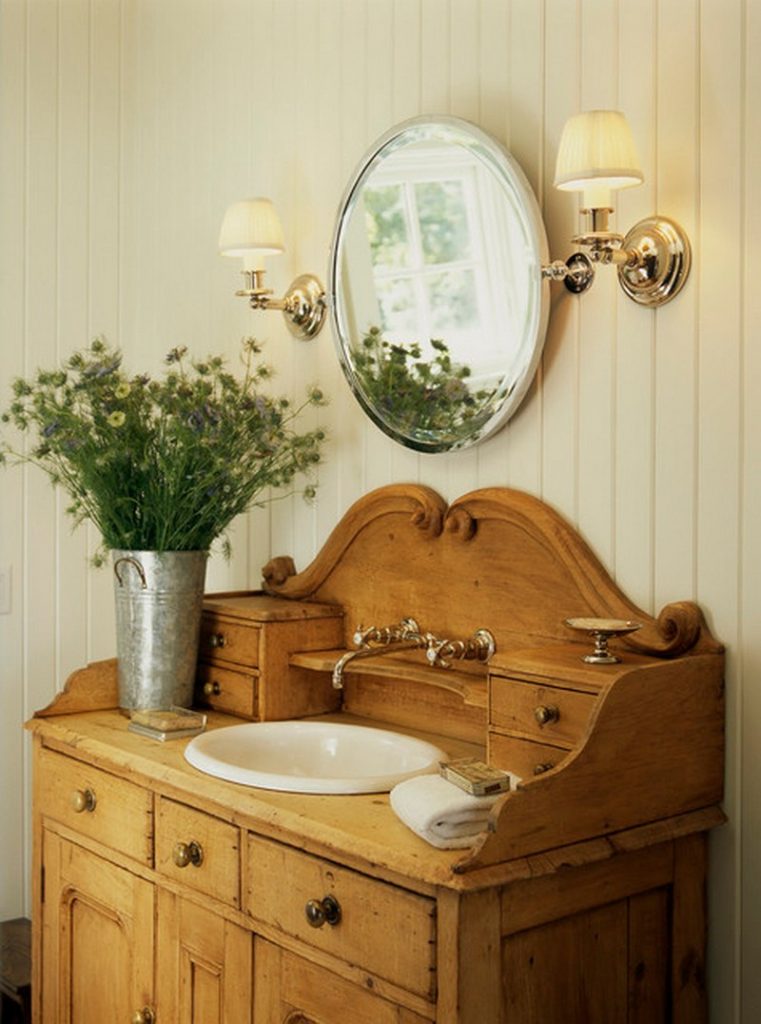
In the realm of home decor and personal style, the desire for a dedicated vanity space is a common thread. However, the cost and space constraints of acquiring a new vanity can be a deterrent. Thankfully, a simple and cost-effective solution exists: repurposing a dresser into a vanity. This transformative project offers a unique opportunity to create a personalized beauty haven, tailored to individual needs and aesthetic preferences.
The Allure of a Dresser-Turned-Vanity
The allure of transforming a dresser into a vanity lies in its versatility and adaptability. It allows for a personalized touch, creating a space that reflects individual style and functionality. Moreover, this DIY project offers significant cost savings compared to purchasing a new vanity.
Benefits of a Dresser-Turned-Vanity
- Cost-Effective: Repurposing a dresser eliminates the need for a new vanity, saving a substantial amount of money.
- Customization: The project offers ample opportunities for personalization, allowing you to choose the perfect size, style, and features.
- Storage Solutions: Dressers inherently provide ample storage space, making them ideal for organizing cosmetics, toiletries, and other beauty essentials.
- Unique Style: A dresser-turned-vanity adds a unique touch to any bathroom or bedroom, creating a distinctive and stylish focal point.
- Sustainability: Repurposing an existing piece of furniture promotes sustainability by reducing waste and giving new life to an old item.
Planning Your Transformation
Before embarking on the transformation, careful planning is essential. This includes:
- Choosing the Right Dresser: Consider the size, style, and condition of the dresser. A sturdy, well-constructed dresser with ample storage space is ideal.
- Determining the Vanity’s Location: Choose a suitable location for the vanity, taking into account lighting, space, and accessibility.
- Assessing Existing Features: Evaluate the existing features of the dresser, such as drawers, hardware, and finish, to determine what needs to be modified or replaced.
- Deciding on the Style: Define the desired style for the vanity, considering the overall aesthetic of the room and personal preferences.
- Gathering Materials and Tools: Compile a list of necessary materials and tools, including paint, brushes, sandpaper, hardware, and any other items needed for the transformation.
Step-by-Step Transformation Guide
1. Preparation:
- Clean the Dresser: Thoroughly clean the dresser to remove dust, dirt, and grime.
- Disassemble if Necessary: If necessary, disassemble the dresser for easier access and modification.
- Sand the Surface: Sand the dresser’s surface to smooth out any imperfections and create a suitable base for painting.
- Prime the Surface: Apply a primer to ensure paint adhesion and create a uniform surface.
2. Painting and Finishing:
- Choose Paint Colors: Select paint colors that complement the room’s decor and personal style.
- Apply Paint: Apply paint in thin, even coats, allowing each coat to dry completely before applying the next.
- Add Finishing Touches: Consider adding decorative accents, such as stencils, wallpaper, or decoupage.
- Apply Protective Finish: Apply a clear sealant or varnish to protect the paint and enhance durability.
3. Adding Vanity Features:
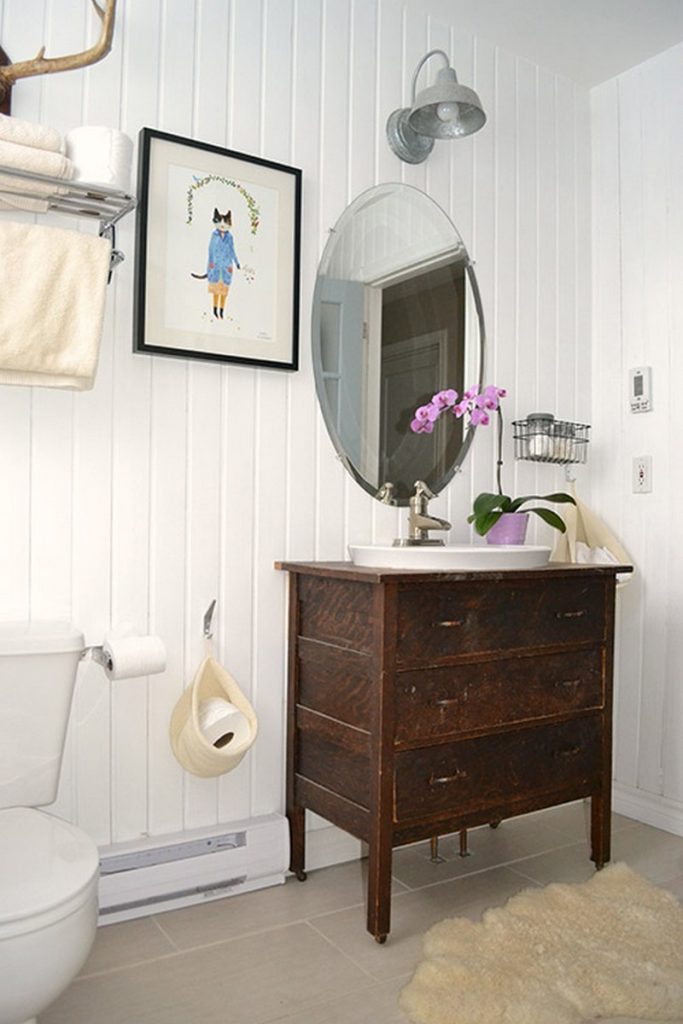
- Install a Mirror: Attach a mirror to the wall above the dresser, or consider using a freestanding mirror.
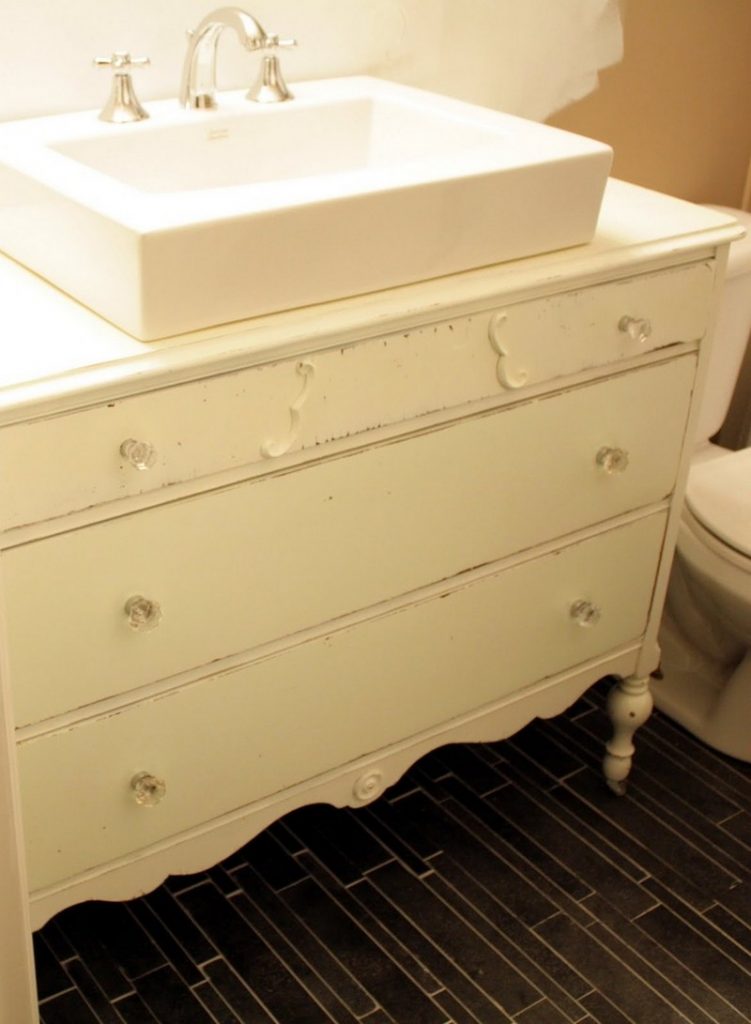
- Add a Sink: If desired, install a small sink on the top of the dresser. This may require modifications to the dresser’s surface.
- Install Lighting: Install lighting above or around the mirror to provide adequate illumination for makeup application.
- Add Storage Solutions: Incorporate storage solutions, such as trays, baskets, or organizers, to keep items neatly arranged.
4. Finishing Touches:
- Replace Hardware: Update the dresser’s hardware with new knobs, pulls, or handles to enhance its aesthetic appeal.
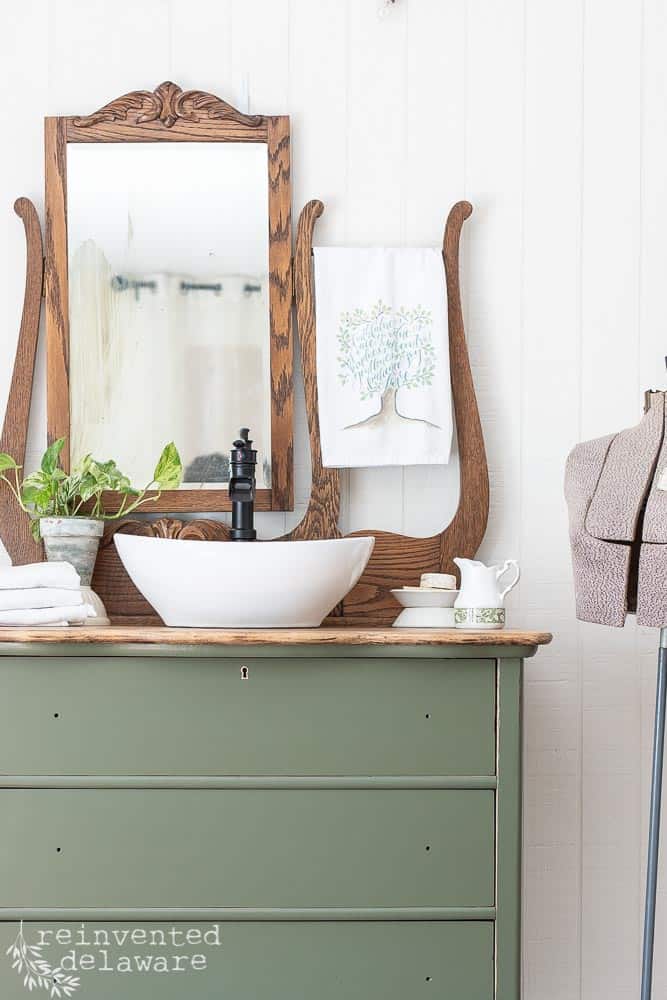
- Add Decorative Accents: Incorporate decorative accents, such as flowers, candles, or decorative trays, to personalize the vanity.
FAQs
Q: What type of dresser is best for a vanity conversion?
A: A sturdy, well-constructed dresser with ample storage space and a smooth surface is ideal. Consider the size and shape of the dresser to ensure it fits the desired location and provides sufficient space for your needs.
Q: What kind of paint should I use for a vanity?
A: Choose a paint specifically designed for furniture, such as latex or enamel paint. These paints offer durability, moisture resistance, and easy cleaning.
Q: How do I install a sink on a dresser?
A: Installing a sink on a dresser requires modifications to the surface. Consult a professional plumber or DIY guide for specific instructions.
Q: Can I use a regular mirror or do I need a vanity mirror?
A: You can use a regular mirror, but a vanity mirror with lighting is ideal for makeup application.
Q: How do I add storage solutions to a dresser vanity?
A: Utilize trays, baskets, organizers, or drawer dividers to create a system for storing cosmetics, toiletries, and other beauty essentials.
Tips
- Consider the Room’s Style: Choose a dresser that complements the overall style of the room, whether it’s modern, traditional, or eclectic.
- Measure Twice, Cut Once: Ensure accurate measurements before making any modifications to the dresser.
- Use High-Quality Materials: Invest in high-quality paint, hardware, and other materials to ensure longevity and durability.
- Embrace Personalization: Add your own personal touch through decorative accents, paint colors, and unique storage solutions.
- Seek Professional Help: If you’re unsure about any aspect of the transformation, consult a professional carpenter or DIY expert.
Conclusion
Transforming a dresser into a vanity presents a unique opportunity to create a personalized and functional beauty haven. By carefully planning, following the step-by-step guide, and incorporating personal touches, you can create a stylish and practical vanity that reflects your individual style and needs. This project offers a cost-effective and sustainable solution to enhance your home’s aesthetic appeal and functionality, creating a space that promotes self-care and beauty.


Closure
Thus, we hope this article has provided valuable insights into Transforming a Dresser into a Vanity: A Guide to Creating a Personalized Beauty Haven. We appreciate your attention to our article. See you in our next article!